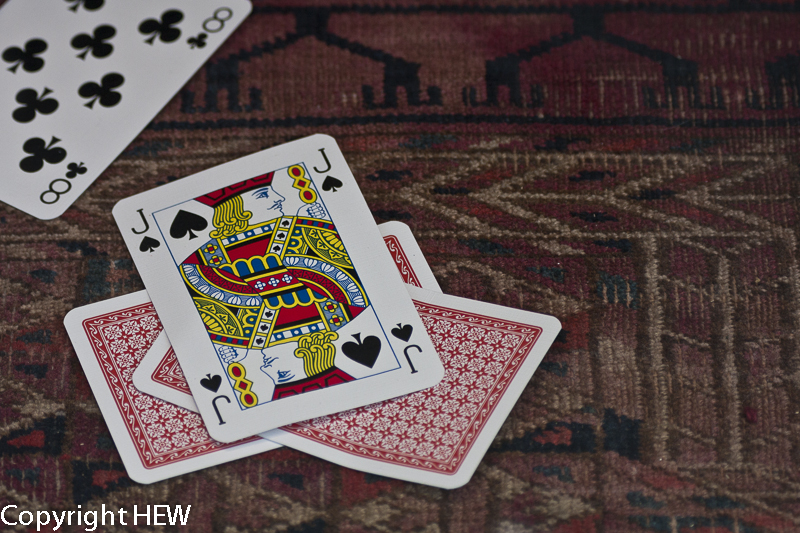
Care for a card game !
Photographers .. hobbyists and enthusiasts who want to improve and starters who want to learn

Care for a card game !
This may sound daft .. everybody knows how to use a tripod of course ..
What I meant was how to really get yourself to use a tripod in practice ..
I have 3 tripods and a monopod .. they have different heads, although I am more into ball-socket heads these days ..
My problem was not using them indoors but carrying them about in travel
I therefore decided to go for a travel tripod of good make that is lightweight and carries up to 2-3kg of gear .. and believe me there are a few out there .. plus buy a new gear bag with a tripod attachment
When I came across the Cullmann Nanomax 230 T with CB 6.1 I thought it will probably be a small useless tripod, but decided after reading its reviews to try it out.
I was in for a real surprise .. here was a very sturdy travel tripod .. very modern look and build .. carried my Nikon D7000 + 18-300mm VR lens easily .. Max height 103cm, Min height 23cm , most important – Packed dimension 30cm, Height with central column down 85cm, Max. tripod leg 20mm, Carrying capacity 3kg, Weight 790 g. Very versatile legs, head and central column and many accessories available. I would have given it 5 stars if it came with the Cullmann Cross Ballhead CB7.3 with CX440 (quick release base) which I bought separately and which is a must for this tripod unless you are prepared to keep screwing and unscrewing the tripod from the camera using the standard CB 6.1 head.
I also bought the Lowepro Pro Runner 300AW Photo Backpack that has a tripod attachement ..
So now I have a tripod that I actually use !

Very busy bee
I once asked a photographer presenting a workshop whether he exposed to the right .. I can still remember his face looking at me very puzzled waiting for an explanation of my question .. as he did not understand the question I wasn’t bothered to hear his answer ..
Basically .. there are many photographers who feel that photos should be exposed as much as possible without burning the highlights (checking the histogram for all colour channels on most DSLR’s) ..
The idea is not clipping while preserving as much detail as possible in the shadows where the signal/noise ratio is very low while also preserving most of the tonal details residing in the right bright illuminated part of the curve where there is a high signal/noise ratio ..
Photos will need a bit more processing in the RAW converter, especially to recover the contrast and colour intensity which usually look washed out .. and to recover the highlights up to a stop or two depending on the camera dynamic range and bit depth ..
This is of course done only using RAW and not JPEG ..
Exposure to the right of the curve (histogram) is discussed in detail at Luminous Landscape and is worthwhile considering in practice .. please read their very informative article http://www.luminous-landscape.com/tutorials/optimizing_exposure.shtml
Photographers .. hobbyists and enthusiasts who want to improve and starters who want to learn
The latest news on WordPress.com and the WordPress community.